Loft insulation is one of the most effective ways to improve your home’s energy efficiency, reduce heat loss, and lower your energy bills. However, before you can enjoy the benefits of a well-insulated loft, it’s essential to prepare the space properly. A well-prepared loft ensures a smooth installation process and maximises the effectiveness of the insulation. In this blog, we’ll guide you through the steps to get your loft ready for insulation installation.
Why Prepare Your Loft for Insulation?
Proper preparation is crucial for several reasons:
- Safety: Ensures a safe working environment for installers or yourself if you’re doing it as a DIY project.
- Efficiency: Helps the insulation material perform at its best by eliminating obstructions and addressing potential issues like dampness.
- Longevity: Prevents problems like moisture build-up, which can reduce the lifespan of your insulation.
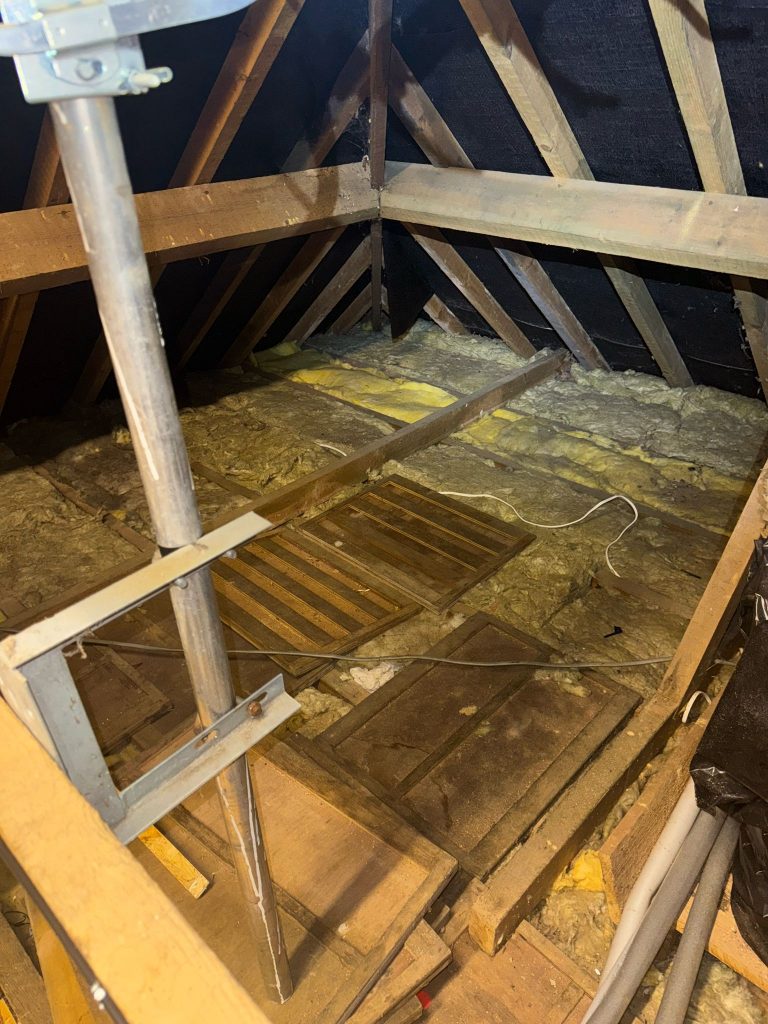
Step 1: Clear Out Your Loft
Before installing insulation, your loft needs to be free of clutter. Follow these tips:
- Remove Stored Items: Take out any boxes, furniture, or other items stored in the loft. This will give you and the installers full access to the loft floor and joists.
- Declutter: Dispose of items you no longer need. A clear loft not only makes insulation easier but also prevents unnecessary weight on the joists.
- Organise: If you plan to store items in the loft after insulation, consider investing in raised storage platforms that sit above the insulation layer.
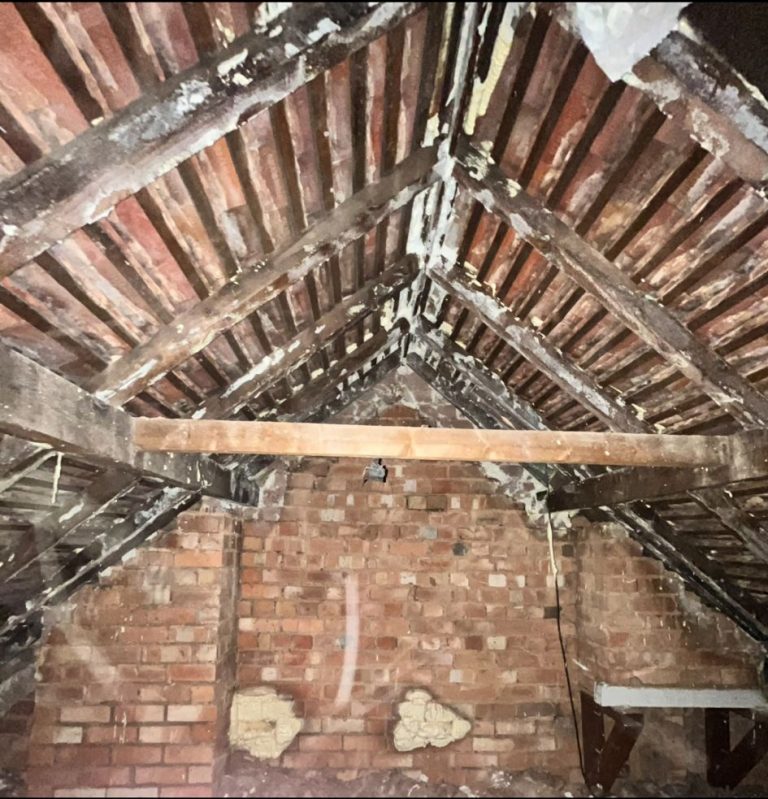
Step 2: Check for Damp or Moisture Issues
Dampness can compromise the effectiveness of insulation and lead to long-term problems like mould. Here’s what to do:
- Inspect for Leaks: Check the roof for any signs of leaks or water ingress. Look for damp patches, water stains, or mould.
- Fix Issues: Repair any leaks or damaged roof tiles before proceeding with insulation.
- Ensure Ventilation: Proper ventilation is essential to prevent condensation. Make sure your loft has adequate airflow, especially if you’re installing foil insulation, which is vapour-resistant.
Step 3: Assess the Loft Structure
A sturdy loft structure is vital for safe and effective insulation installation:
- Inspect Joists: Check the condition of the loft floor joists. They should be strong enough to support the insulation and any future storage.
- Measure Depth: If you already have insulation, measure its depth. The UK building regulations recommend a minimum depth of 270mm for materials like mineral wool. If your existing insulation is less than this, you’ll need to top it up.
Step 4: Plan for Electrical Wiring and Pipes
Lofts often contain electrical wiring, pipes, and other utilities. These need to be addressed before insulation:
- Identify Wiring: Ensure all electrical wiring is in good condition and safely positioned. Avoid covering cables with insulation, as this can cause overheating.
- Protect Pipes: Insulate any exposed pipes to prevent them from freezing in winter. This is especially important if you’re installing foil insulation, which reflects heat and may leave pipes exposed to colder temperatures.
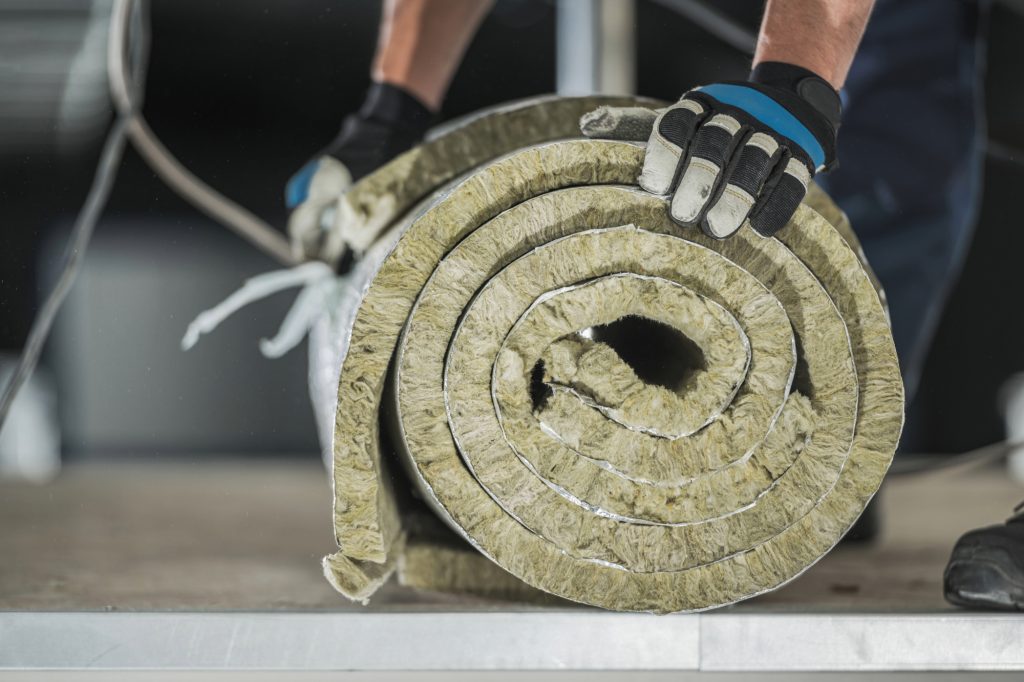
Step 5: Choose the Right Insulation Material
Selecting the right insulation material is key to achieving the best results. Popular options include:
- Foil Insulation: A modern, clean, and highly effective option that reflects heat and prevents heat loss. It’s lightweight, easy to install, and doesn’t irritate the skin or lungs.
- Mineral Wool or Fibreglass: Traditional options that are cost-effective but require protective gear during installation due to potential irritation.
- Natural Materials: Options like sheep’s wool are sustainable and regulate moisture but can be more expensive.
Step 6: Ensure Safety Precautions
Safety should always be a priority when preparing your loft:
- Wear Protective Gear: If you’re handling traditional insulation materials like fibreglass or mineral wool, wear gloves, goggles, and a dust mask to protect your skin and lungs.
- Install Temporary Lighting: A well-lit loft makes the preparation and installation process safer and more efficient.
- Use Stable Access: Ensure your loft ladder is secure and stable. If necessary, use a temporary platform to work safely in the loft.
Step 7: Consider Professional Installation
While DIY insulation is possible, hiring professionals ensures the job is done to the highest standard. Professional installers can:
- Assess your loft for any issues you might have missed.
- Recommend the best insulation material for your home.
- Ensure compliance with UK building regulations.
Final Thoughts
Preparing your loft for insulation installation is a crucial step in improving your home’s energy efficiency. By following these steps, you’ll create a safe, clean, and well-organised space that’s ready for insulation. Whether you choose modern foil insulation or traditional materials, proper preparation will help you enjoy the benefits of a warmer, more energy-efficient home for years to come.
If you’re considering foil insulation for your loft, get in touch with us today. Our team of experts can guide you through the process and ensure your home is insulated to the highest standard. Don’t wait—start saving energy and money now!